
Preparing Your Model to Print
The MakerBot Print software has many features that will allow you to prepare and manage your prints. Getting your file ready for printing can be overwhelming the first time around. Ask for help if you get stuck.
Adding a Model to Your Virtual Build Plate
You can add a model to your build plate in a few ways. You can follow the way that is represented below or go to File > Insert File. If you don't yet have files of your own to print, you can access our example files to try out by going to File > Insert Example File. Makerbot Print supports .stl, .obj, and .makerbot file types.
You can rotate your view by right clicking then moving your mouse and you can hold shift and right click to pan in any direction. Scrolling the mouse wheel in and out also adjusts your zoom.
Ensure Your Model Fits On The Build Plate
Arranging models is as easy as clicking and dragging them to different areas. This is useful for positioning multiple objects or ensuring they don’t intersect. Be sure to review all adjustments, if any objects are off outside the print area the software will not allow you to move forward. Simply click and drag objects back onto the plate.
Rotating and Scaling Your Model
Selecting Orient and Scale will allow you to change the orientation of your model and let you rescale your model respectively.
Changing Settings
Some files may be more complex than others, files like the one below will need Supports added to its face and hair to ensure a successful print. Please note that Supports are not automatically selected and many models will need them to print correctly. Always add supports unless you know that your print does not require them.
You can also change the print settings which will give you the best balance of strength and printing speed. The larger the print, the more complex the design the longer the print will take. Remember that the print must finish within the 3 hour window you have reserved.

Preview Your Model
Selecting Print Preview will show you a visualization of how your model will print on your printer. This will show you where the raft and supports will print as well as provide you with a print time estimation. This needs to be under 3 hours for printing using the Library 3D printer.

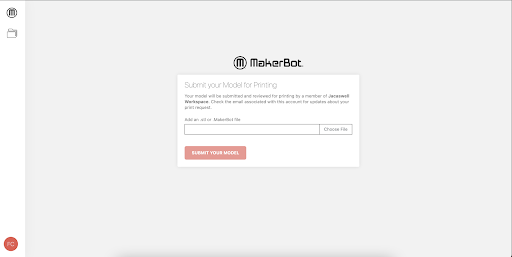
Printing Your Prepared Model
Ready to print? Select the Export button in the bottom right of the application. Save the .makerbot file in a convenient location, then use the shortcut on the desktop or the bookmark to proceed to the submission page. We only accept .makerbot files, .stl files are not accepted.
Please name your files as follows: “Your name - Color of filament” (e.g., Jane Smith - Red). Ensure the name matches the name staff have for the reservation.
Inform MCPL staff working in Level Up that the file is ready to print.
Questions? Please let us know!
Animations from MakerBot Print: Quick Guide